The Mike Crate
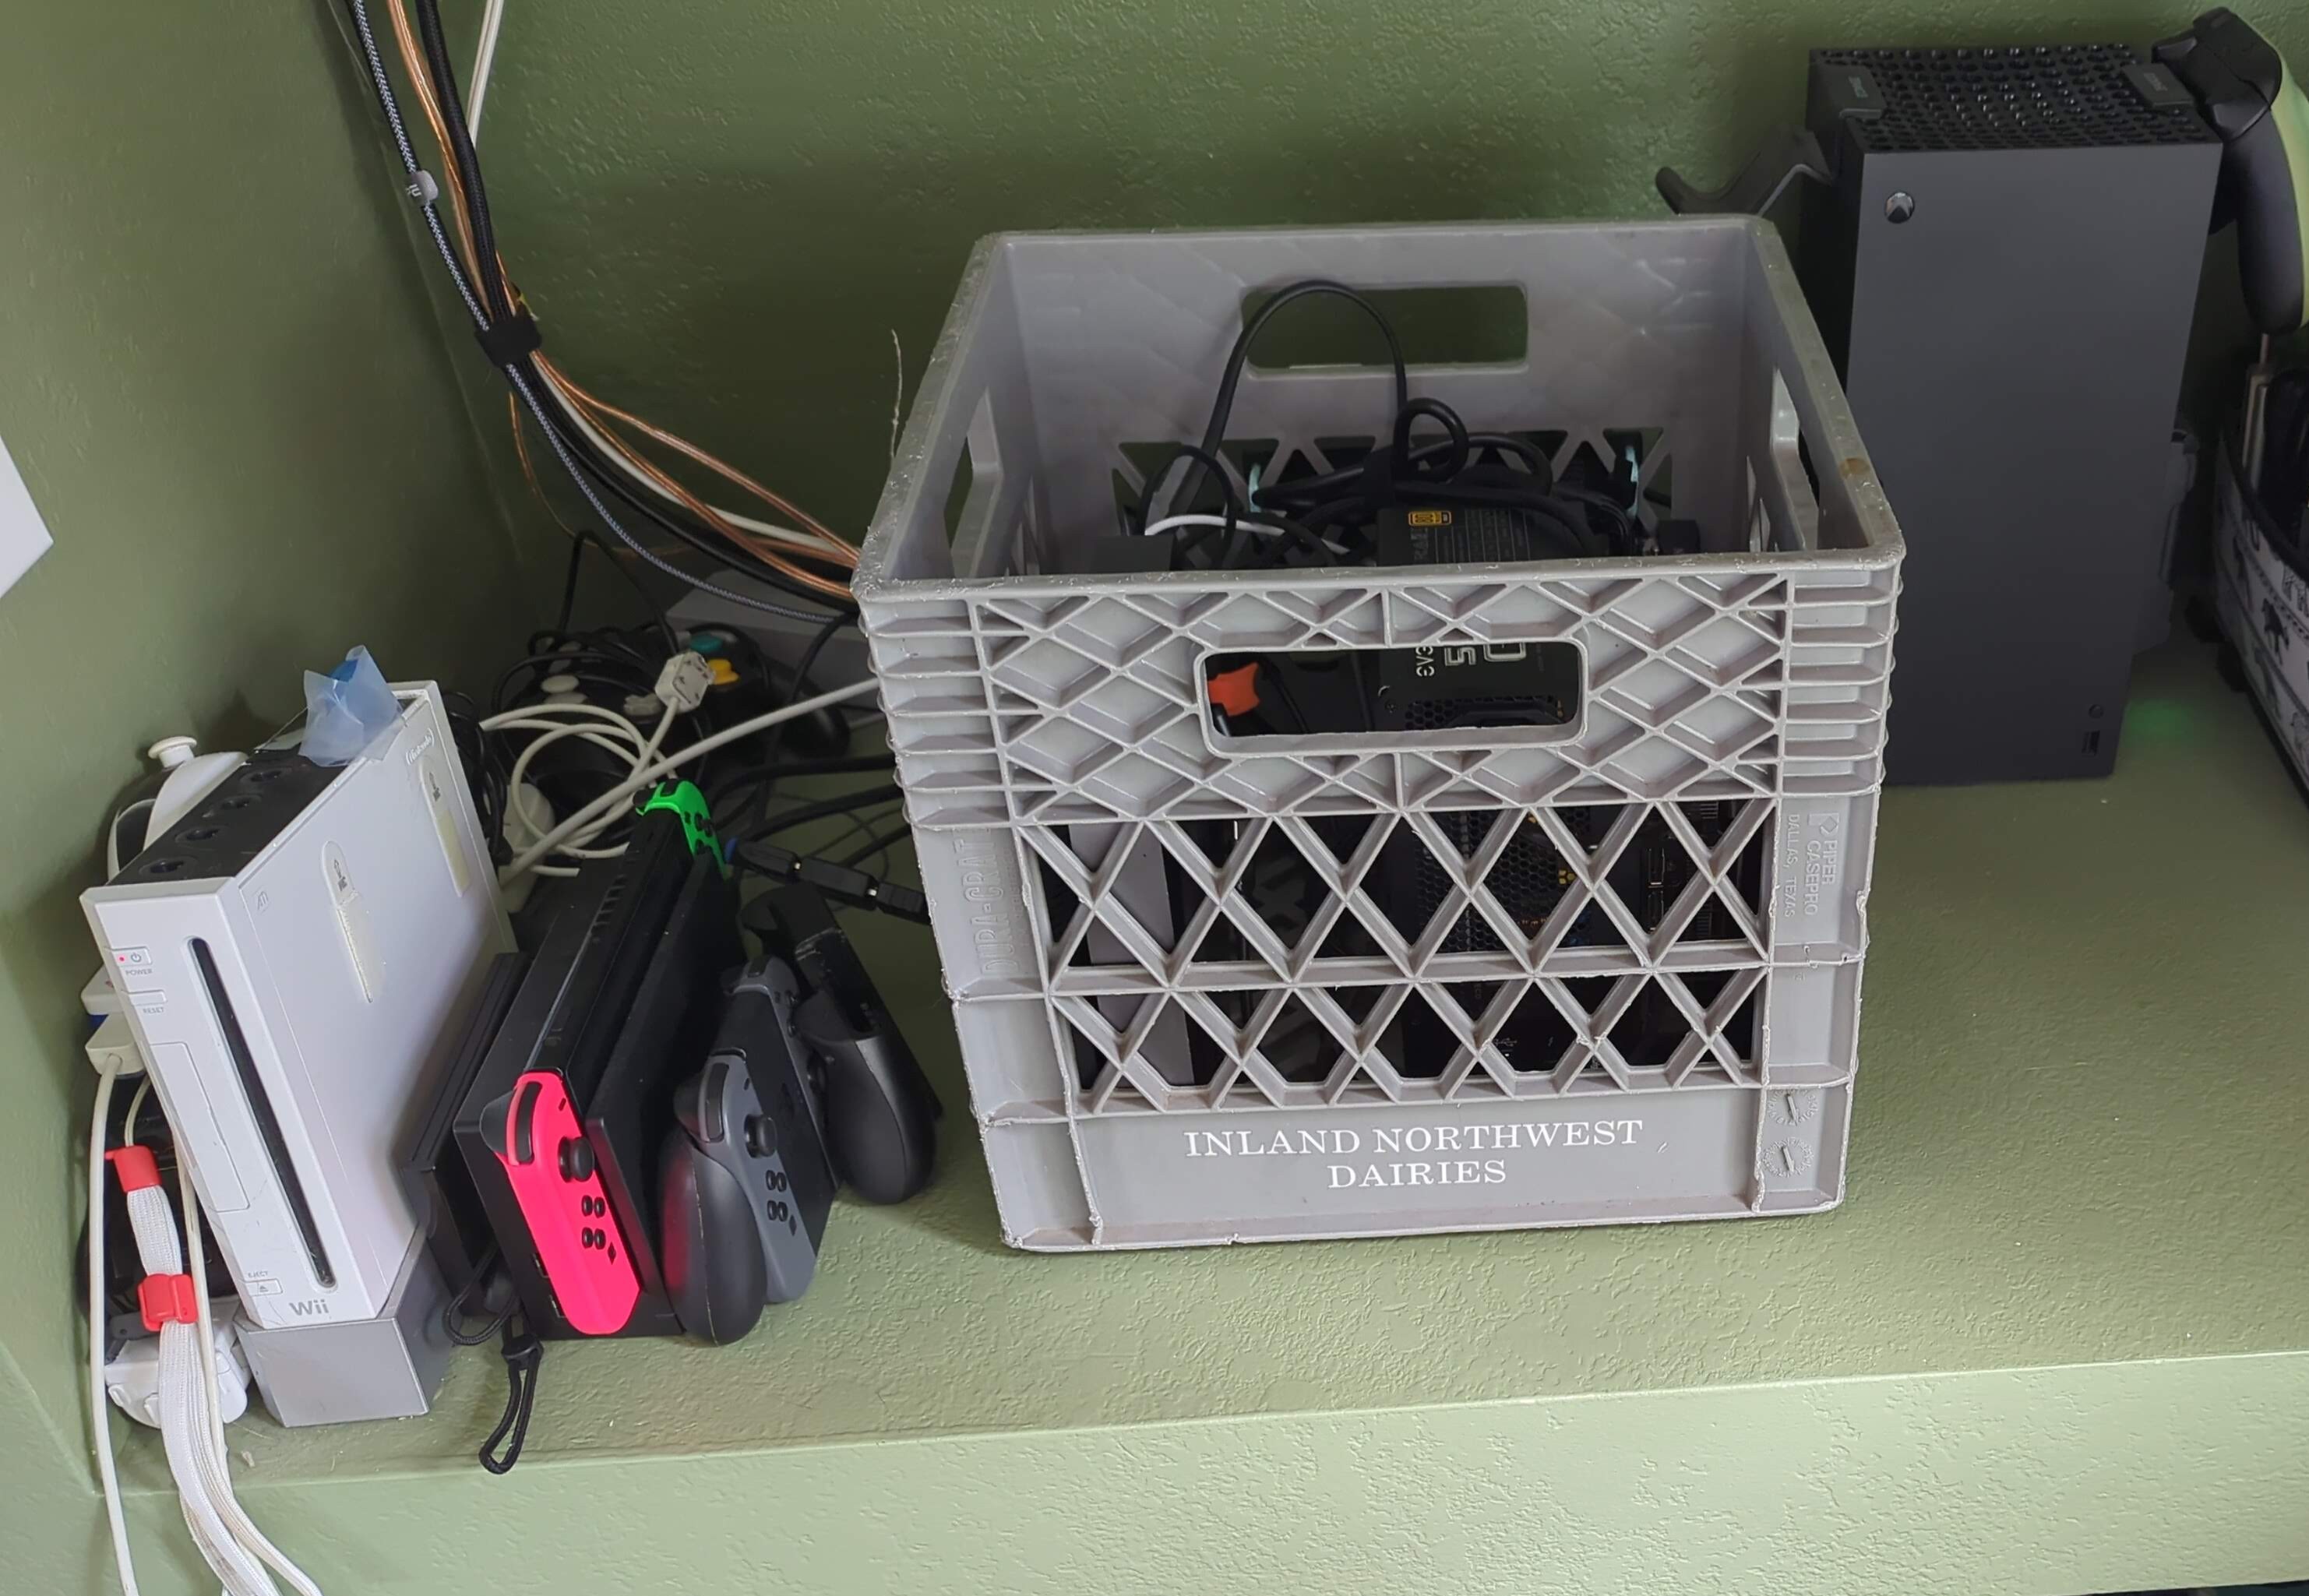
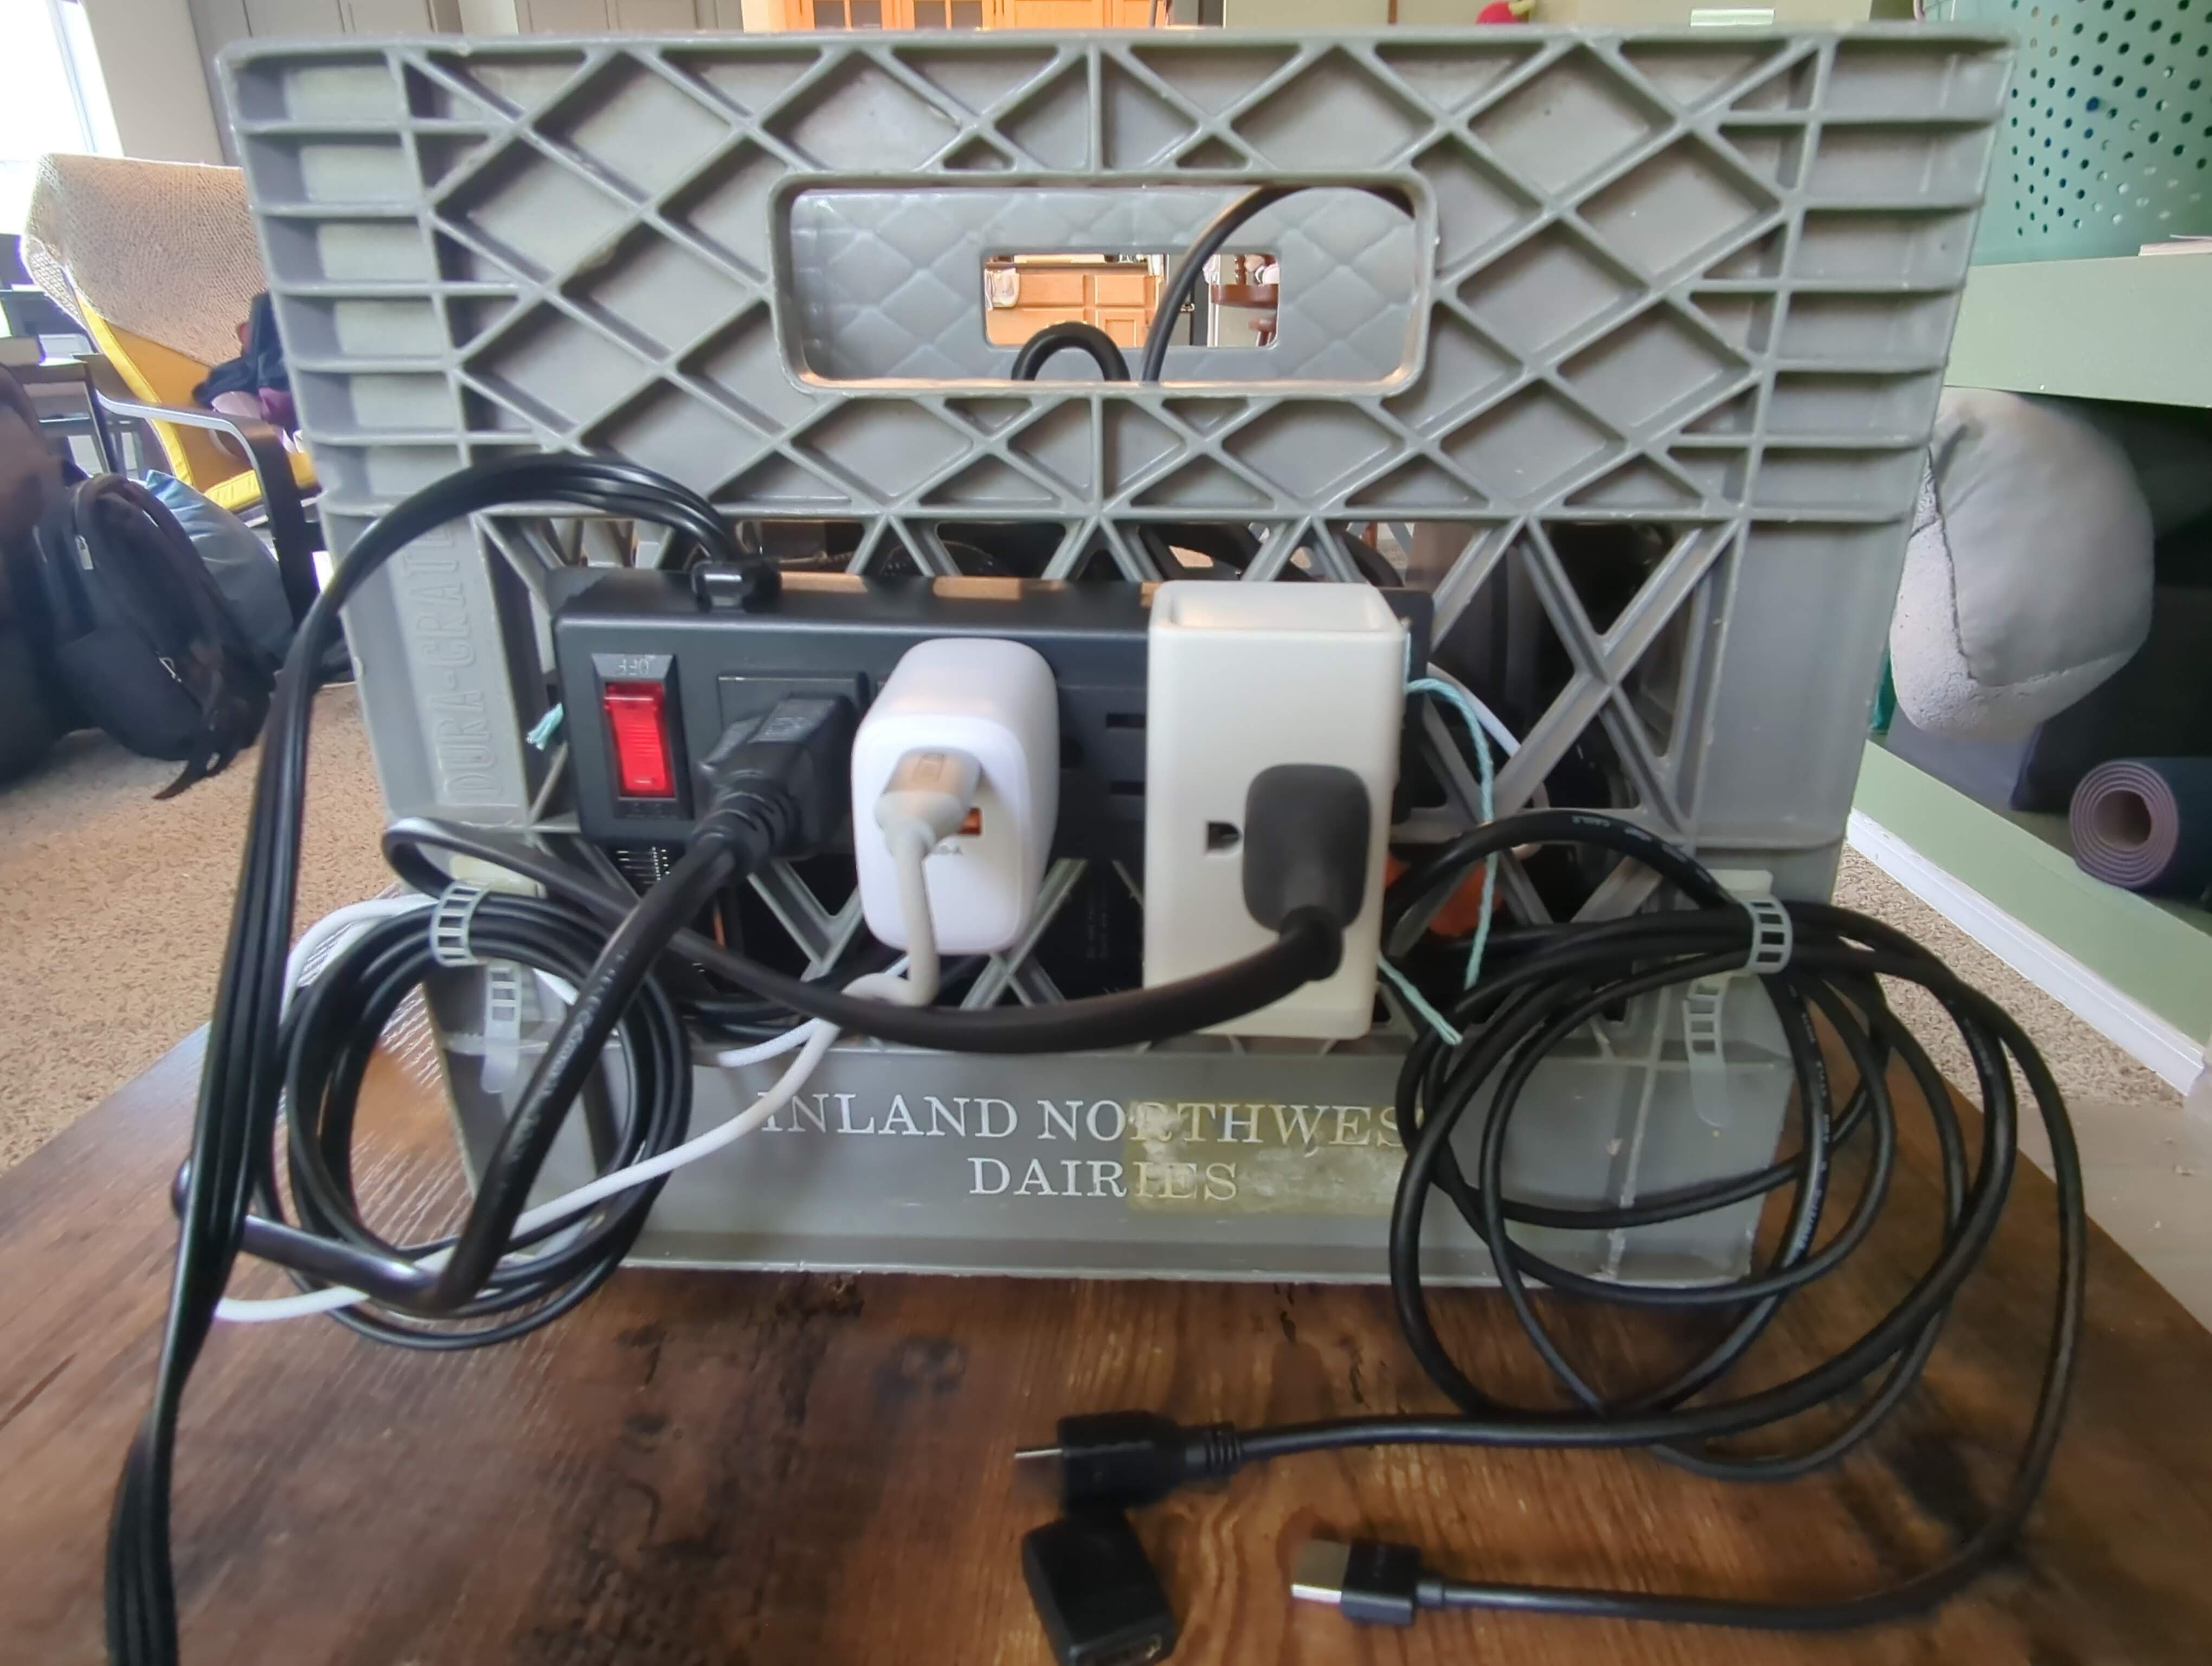
Hello. Let me introduce you to the 📦 Mike Crate: a DIY Ubuntu-based Steam Machine/Home Theater PC in a Milk Crate.
(Mike Crate. Steam Machine -> Gabe Cube -> Mike Cube -> Milk Crate -> Mike Crate. Get it?)

TLDR; look a photo gallery!
First of all, please let me describe the "Boot Dance":
- Turn on 5 power switches, leave the Mac Mini for last
- Set HDMI switch to 1
- Turn on Mac
- Select option 5 in GRUB
- Allow GRUB to refresh, wait ~5 seconds
- Select option 1 in GRUB
- Watch for Ubuntu loading screen
- Switch HDMI to 2
- Play/watch stuff ✔️
If step 7 fails after ~30 seconds, force power-down the Mac and start from step 3
Components:
Many of these were donated or traded for, only a few were purchased. The ones that were are linked with a "$".
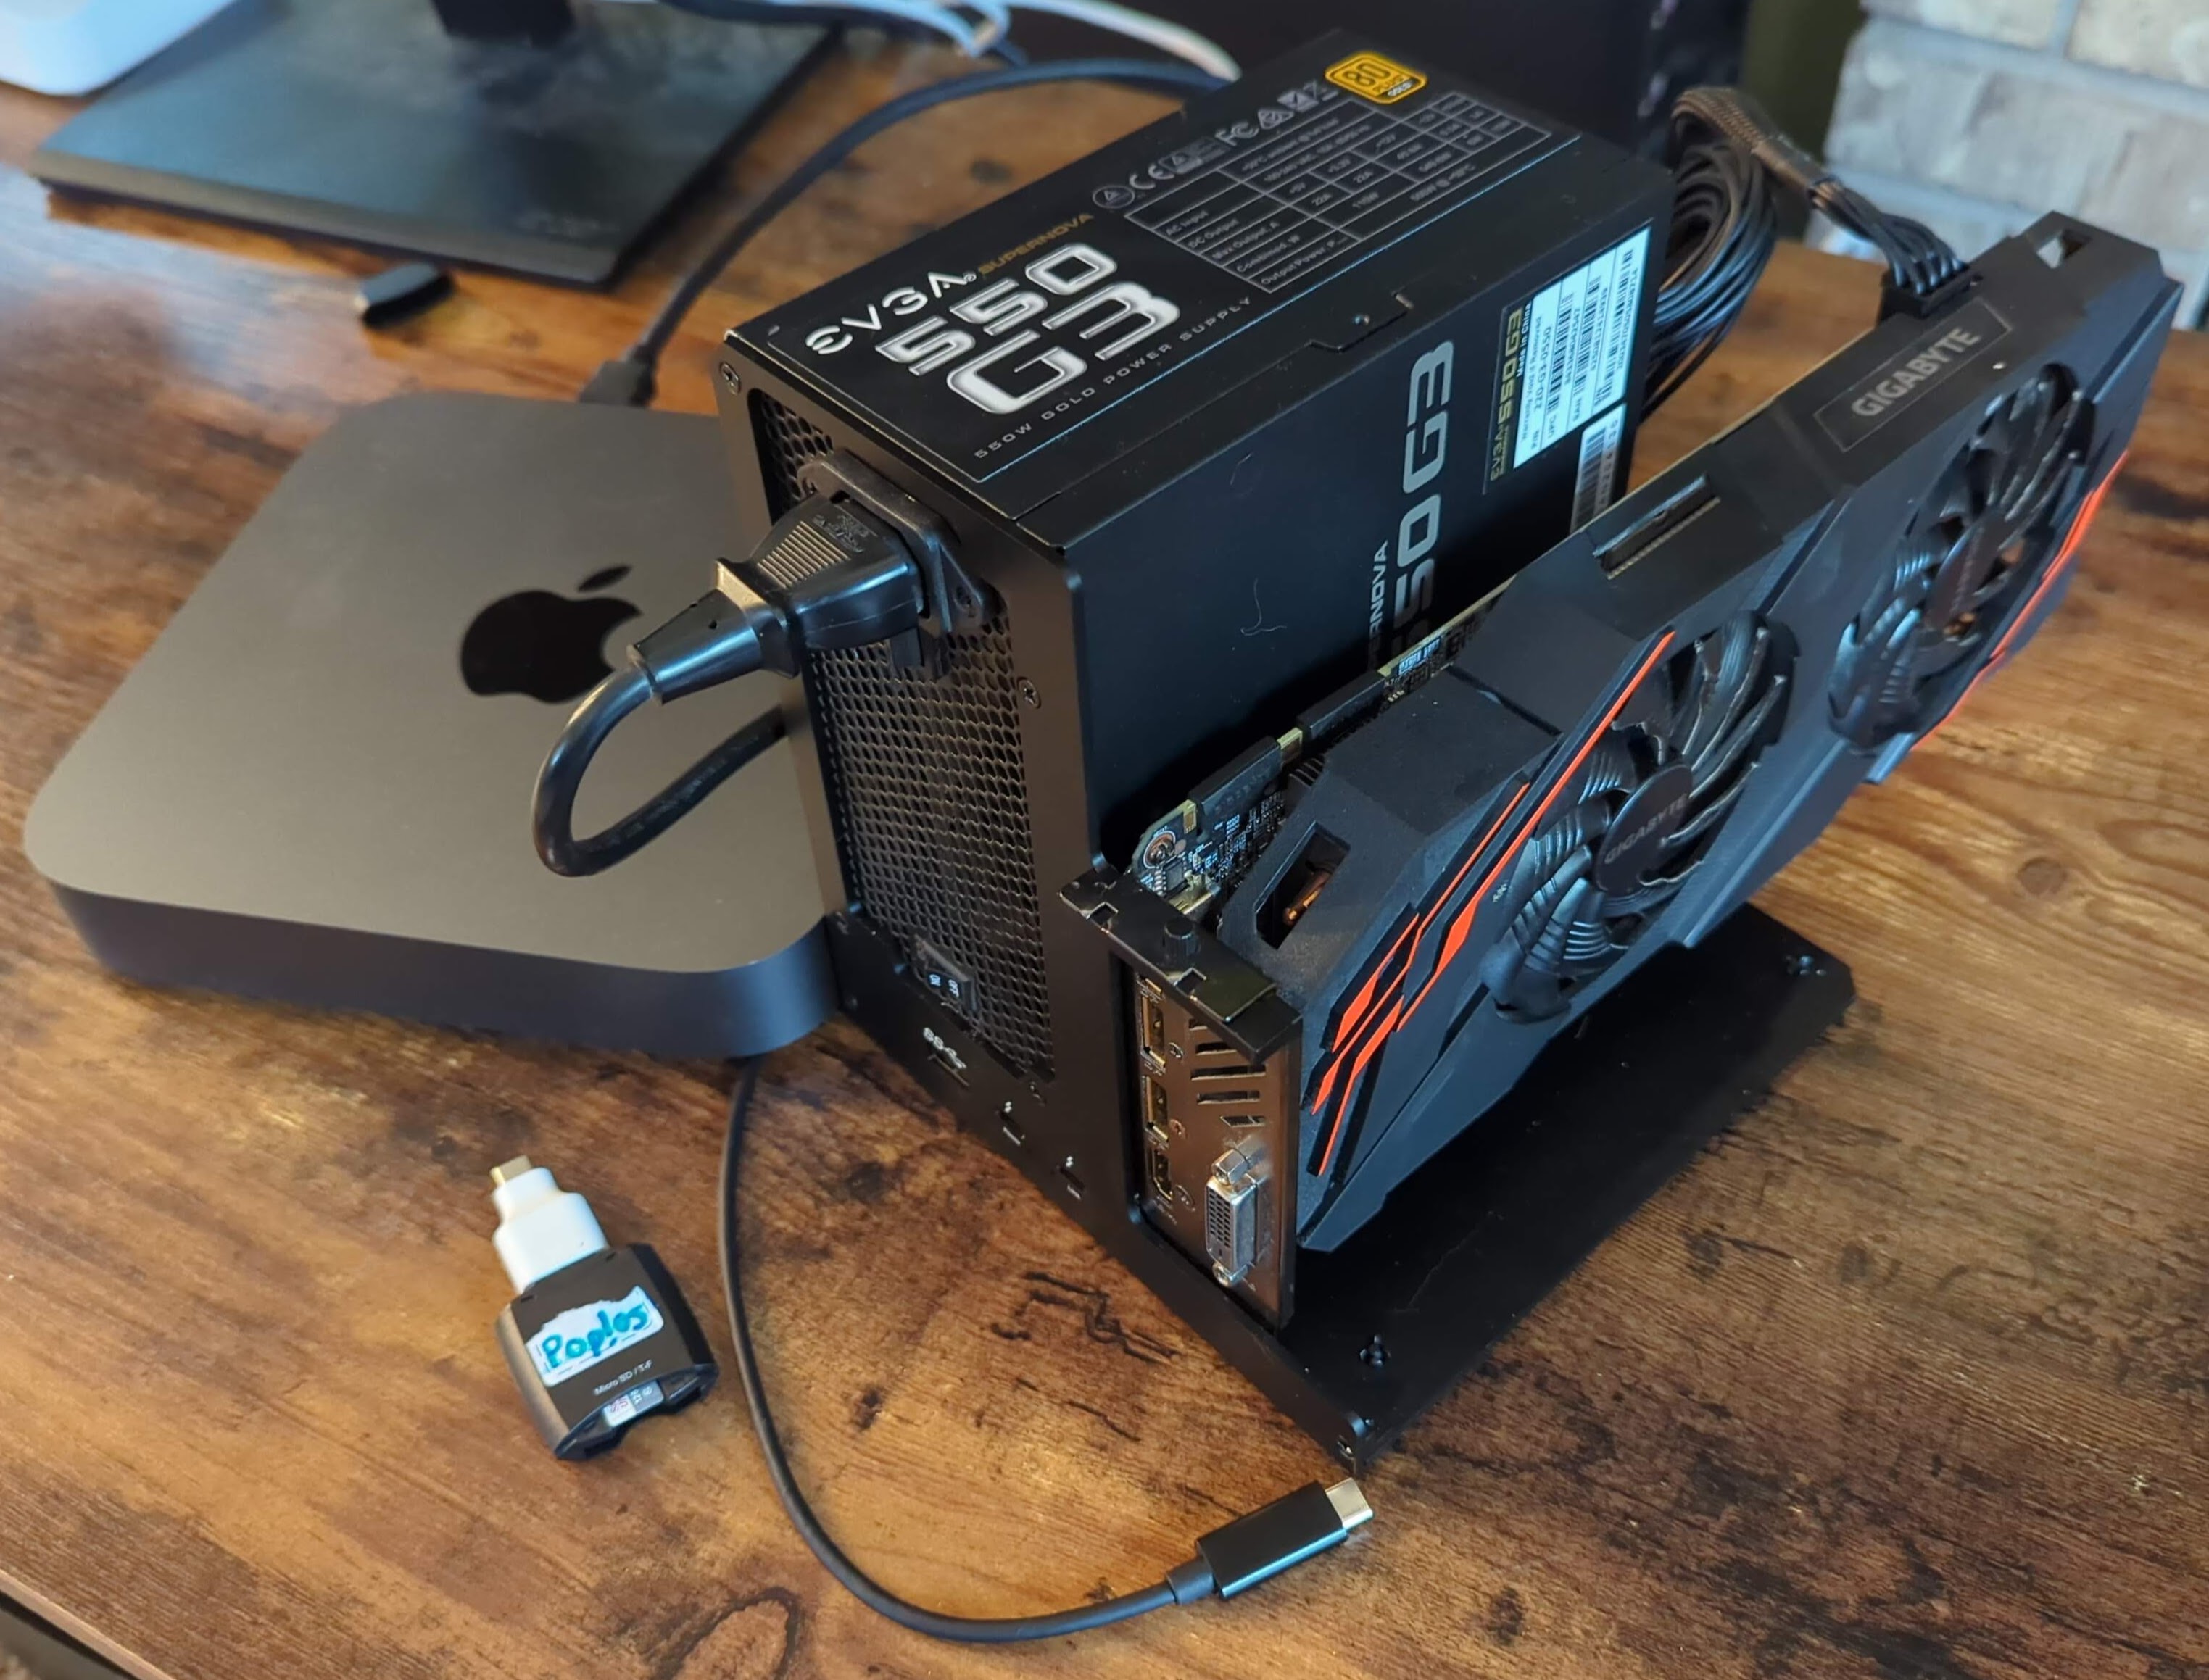
- Mac Mini 2018
- Intel Core i5-8500B
- Intel UHD 630 GT2 (Coffee Lake)
- 16gb RAM DDR4 2667 MHz
- 500GB NVMe
- [$] eGPU Dock
- 550w Modular PSU
- Radeon RX 5700 XT MECH OC BV
- 2TB HDD (old internal hard drive in an [$] external case)
- Milk crate
- A rat's nest of various cables
Accessories:
Thank you to my friend Mike for the Mac, a member of our local Olympia indie game dev Discord community for the PSU, my brother for the Radeon GPU (traded for an Nvidia), and my hoarding tendencies for the rest :)
Did you say 5 power switches??
Ya: (1) Power strip, (2) Mac Mini, (3) Hard drive enclosure, (4) eGPU dock, (5) WiFi power adapter
*The WiFi power adapter is currently just always on, but eventually I hope to have this thing boot up without having to babysit it, with the Mac Mini set up to boot automatically when powered.
How did we get here?
I want a Steam Machine. I can't justify the cost of a Steam Machine (no matter what the price ends up actually being). So let's build one.
Originally I wanted to use Bazzite, the new-ish SteamOS-like hotness, but I ended up not being able to ever get a display from the GPU with that distro. So I scrapped it and tried some other distros. Some were nice to use OS-wise, but none of them worked with the eGPU.
Finally I happened upon a Reddit post (details below) that finally - FINALLY - resulted in a display, (only?) if I use Ubuntu. Amazing. And it runs pretty well!
All told, over the course of about 2 months, I collected hardware, experimented with a bunch of distros, and combinations of hardware, scripts, and various incantations, and finally ended up with something that works*. *usually
Some other various problems that I won't go into full detail about:
- The Mac was locked out, and the previous user (my friend Mike) did not know the password or have access to the email any longer. Thankfully he still owned the URL, and was able to reinstate his email address, and after about two weeks of back and forth with him and I and Apple, we were able to unlock the Mac and remove his user account - and disable ALL THE SECURITY CONTROLS, UGH.
- T2 security chip... this is the tech that Apple uses to enable secure boot, encryption, touch ID, and other system management. The T2 chip makes installing anything but Mac OS on a Mac kind of a nightmare. Thankfully, there are some amazing folks at t2linux.org who have figured out all the hard stuff so that we can use Linux on a Mac with less workarounds and nonsense!
- Nvidia drivers are a nightmare on Linux. This is why I traded for my younger brother's Radeon. This is why we support open source software.
How to do it yourself:
🚨 THIS IS ASSUMING YOU HAVE ALL THE SAME HARDWARE, AND INTERMEDIATE LINUX KNOWLEDGE AND SKILLS. FOLLOW THE BELOW INSTRUCTIONS AT YOUR OWN RISK. DON'T COME TO ME IF THIS BREAKS STUFF. 🚨
First of all, install Ubuntu using the instructions on t2linux.org. You can skip the bits about the touch bar, you don't have a touch bar. You can also skip the Hybrid Graphics instructions.
IMPORTANT: Skip the rEFInd instructions unless you really know what you're doing. We're going to be using GRUB in weird ways, and while I'd prefer to use rEFInd, I don't know how well it would work using any other boot manager, nor if the instructions below are compatible.
Next, we're going to do some stuff I only somewhat understand to get the eGPU working. The following is based on instructions from a Reddit post, modified to make more sense to me and to fix a couple of problems and omissions.
Here's the original post: Macmini 2018 on ubuntu + eGPU(RX6600XT) Multi-display
OS boot spoofing process
- Create the destination directory
First, create a dedicated folder for placing files for our custom boot sequence.
$ sudo mkdir -p /boot/efi/EFI/custom
- Download apple_set_os.efi
Download the latest version directly from the GitHub releases:
$ sudo wget -O /boot/efi/EFI/custom/apple_set_os.efi https://github.com/0xBB/apple_set_os.efi/releases/latest/download/apple_set_os.efi
- Verify that the file was downloaded correctly
Check that its size is not 0, and that it actually exists.
$ sudo ls -lh /boot/efi/EFI/custom/apple_set_os.efi
If the output shows the file size is around 4KB to 8KB, then it was successful!
- Apply GRUB settings
Create and edit the GRUB configuration file:
$ sudo nano /etc/grub.d/40_custom
Input the following, exactly:
#!/bin/sh
exec tail -n +3 $0

menuentry 'Unlock eGPU (apple_set_os)' {
  rmmod tpm
  insmod fat
  insmod chain
  # Automatically scan for EFI partitions by filename
  search --no-floppy --set=root --file /EFI/custom/apple_set_os.efi
  chainloader /EFI/custom/apple_set_os.efi
}
Save the file.
- Find the ID of the integrated display controller
$ lspci -nn | grep -i vga
Example output:
00:02.0 VGA compatible controller [0300]: Intel Corporation CoffeeLake-H GT2 [UHD Graphics 630] [8086:3e9b]
0e:00.1 Non-VGA unclassified device [0000]: Apple Inc. T2 Bridge Controller [106b:1801] (rev 01)
0e:00.2 Non-VGA unclassified device [0000]: Apple Inc. T2 Secure Enclave Processor [106b:1802] (rev 01)
Here, the integrated Intel-based GPU is 8086:3e9b
- Isolate the integrated GPU (vfio-pci)
To prevent the system from freezing due to conflicts between the built-in HDMI port and the eGPU, the integrated GPU is isolated as the highest priority during Linux startup.
Open the module settings for the initial RAM disk:
$ sudo nano /etc/initramfs-tools/modules
Add the following to the end of the file (the order is very important):
vfio vfio_iommu_type1 vfio_pci amdgpu
Save the file.
- Modify GRUB
$ sudo nano /etc/default/grub
Look for the following lines, and replace them with the following. If they do not exist, add them:
# Integrated GPU isolation (vfio-pci) and frame buffer disabling
GRUB_CMDLINE_LINUX_DEFAULT="quiet splash pci=realloc,assign-busses,hp_pcie_mem_256M video=efifb:off initcall_blacklist=simpledrm_platform_driver_init vfio-pci.ids=8086:3e9b"

# Enabling IOMMU (PCIe passthrough related)
GRUB_CMDLINE_LINUX="pcie_ports=native intel_iommu=on iommu=pt"

# To allow time for the eGPU to warm up, display the menu and wait for 10 seconds.
GRUB_TIMEOUT_STYLE=menu
GRUB_TIMEOUT=10
NOTE: My GRUB_CMDLINE_LINUX line had an existing option, "pm_async=off". I added the additional pcie_ports=native... content after that option, and it seems to be working fine. Your mileage may vary. Apparently this pm_async=off option ensures devices are suspended and resumed one-at-a-time, vs all at once, to help with hangs, and was probably added with the T2Linux Ubuntu stuff.
Save the file.
- Apply the changes to the system
If you forget to do this step, your changed settings will not be reflected.
$ sudo update-initramfs -u
$ sudo update-grub
Booting up your Mac
After completing the above:
- Shut down your Mac.
- Turn on the eGPU. Ensure the Thunderbolt cable is plugged in to the Mac. The most reliable port for me is the 2nd one after the HDMI port. Plug your display cable into the Mac, not the eGPU.
- Turn on the Mac. The GRUB menu will appear (black screen with white text).
- Use the arrow keys on your keyboard to select "Unlock eGPU (apple_set_os)" at the bottom and press Enter (take your time, I've had issues booting when doing this and the next step too quickly).
- The screen will briefly go dark, or flash, or nothing will appear to happen, and then you will return to the same GRUB menu. During this brief moment, the Mac completes the process of believing "I am macOS."
- Once you return to the menu, wait a few seconds and then this time select "Ubuntu" at the top, and press Enter.
- Wait until you see the Ubuntu logo. Sometimes this works, sometimes it doesn't. If it doesn't show up within about 30 seconds, force power-off your Mac and try again.
- Switch the display cable over to the eGPU.
This setup is quite fiddly... if you're not getting results, try unplugging everything and plugging them in one at a time, attempting the boot sequence again. Try powering things on in different order. Try plugging in the display cable or swapping displays at different times. Experiment! Take notes on what works! Try to enjoy the absurdity of this process!!
Ubuntu will start up with the eGPU recognized, and you'll be able to switch between the Mac's HDMI port and eGPU display ports. Hooray!!
I have found that having HDMI from both the Mac and the eGPU to a 2-in/1-out HDMI switch is fairly reliable.
Notes
- My Mac Mini really doesn't like when anything but the eGPU is plugged in via USB-C/Thunderbolt, and refuses to show a display after GRUB. This limits my USB inputs to the 2x USB-A, so I also grabbed a small 4-port USB hub.
- WiFi is temperamental. Use ethernet if you can.
WANTED: A way to automate the "Boot Dance"
If you can figure out how to make GRUB default to selecting "Unlock eGPU (apple_set_os)", and then select "Ubuntu" afterward, without any manual input, I WOULD BE SUPER INTERESTED IN HEARING YOUR SOLUTION!!
I've tried the following. I still had to select a non-default GRUB option to start, but I was hoping for at least step in the right direction. It looked like it was going to work - after selecting this one it refreshed back to the GRUB menu and booted into the default "Ubuntu" option after a 5 second delay - but never ended up showing a display after GRUB. Darn:
menuentry "Unlock eGPU and Boot Ubuntu" {
    insmod fat
    insmod chain
    insmod sleep

    search --no-floppy --set=root --file /EFI/custom/apple_set_os.efi
    chainloader /EFI/custom/apple_set_os.efi

    echo "eGPU unlocked. Booting Ubuntu in 5 seconds..."
    sleep --verbose 5

    search --no-floppy --fs-uuid --set=root MY_UUID

    configfile /boot/grub/grub.cfg
}
Photos